In the Add Zone dialog box, enter the Zone ID and Zone name.
Click OK.
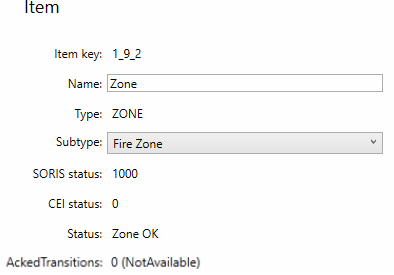
Expand the branch, and select the newly created zone item.
In the corresponding Item area, optionally modify the Name; then select the appropriate value from the Subtype drop-down list. NOTE: You can add a maximum of 150 zone items.
Repeat the previous steps to create all the required zones.
Under the branch, the new items are highlighted in blue. The additional text To be downloaded in blue indicates that the item configuration is saved locally only. Its status is Disconnected.
 .
.