Migrate Trend View
- In the Data import expander, select the Trend View tab.

Status display:
4/4: All channels were able to be assigned;
5/7 : Only three of seven channels were able to be assigned;
0/6 : No channel was able to be assigned. Check whether you selected the corresponding sites. - Select one or more Trend Views and select the check box to the left, next to DI Trend View.
NOTE: Tooltip displays the assignments.
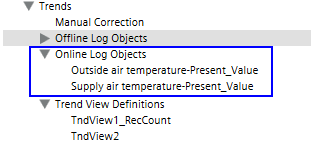
- Select the Create TLO check box if you want to create an online trendlog object belonging to the Trend View.

- Click Import.
- A confirmation message is displayed.
- Click Yes.
- The Import Overview dialog box displays.
- Click OK to close the dialog box.

NOTE:
The file displayed in the log is saved as DIMigrationTrendViewLog.csv in folder [Installation Drive]:\[Installation Folder]\[Project Name]\Log and can be opened in Excel. The separators for the CSV file are based on the set Desigo CC language.
If the log file is opened in Excel, the data migration once again aborts. Close the log file first and restart the data migration.